Ripping Curved Sections on the Bandsaw
Providing your bandsaw blade is in good condition, it's very easy to rip straight pieces on the bandsaw using the standard rip fence, but what happens if you want to produce a series of curved sections of equal width? You can mark them out individually and cut them by eye but this can be tedious and inaccurate, particularly if there are a lot to do. Alternatively, you can set up a single-point fence and peel them off in seconds. This technique is very simple and can save a lot of time.
Make a Fence
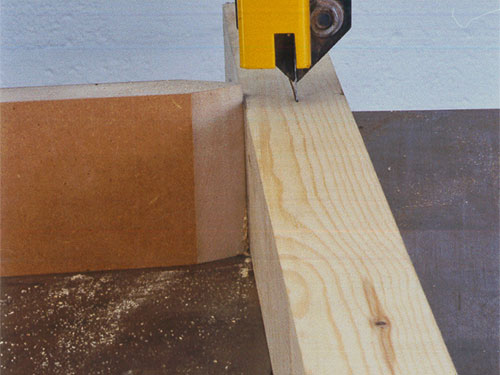
Cut a piece of timber about 2.5 x 1" and form a radiused point on the end, Fig 1. Make sure this is nice and smooth, preferably polished. A suitable clamp is also needed, ideally with a deep throat.
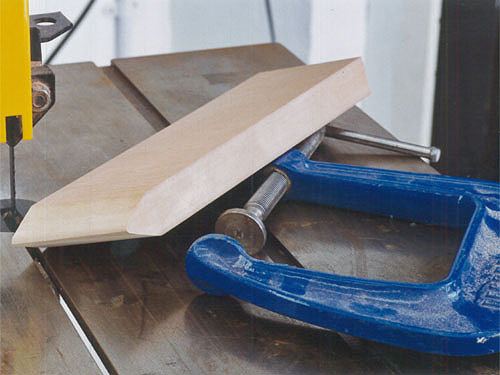
Fig 1
Clamp the Fence to the Table
Clamp the fence to the bandsaw table as shown in Fig 2. You can see that the deep thraoted clamp is necessary to grip the fence as near as possible to the blade to minimise the leverage and ensure it is as secure as possible.
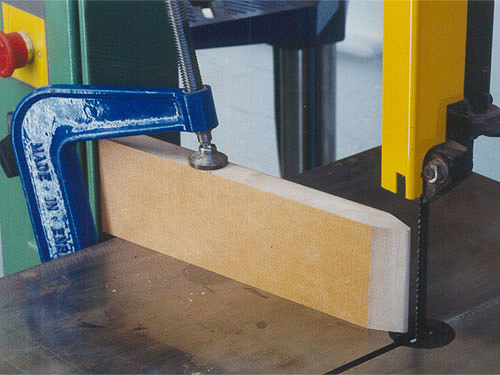
Fig 2
Position the Point Just in Front of the Blade
Arrange the fence so that the 'point' is just in front of the blade and use a sharp, narrow blade, in this case 3/8" with 6 teeth per inch.
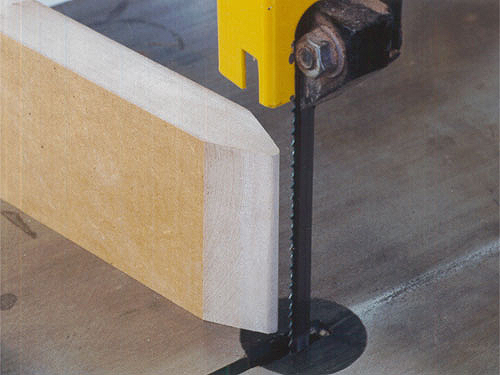
Fig 3
Begin Cutting
Obviously the width between the blade and the point is the finished width of the cut strip, so all you need to do now is push the wood up against the fence point and then gently feed it into the blade as Fig 4.
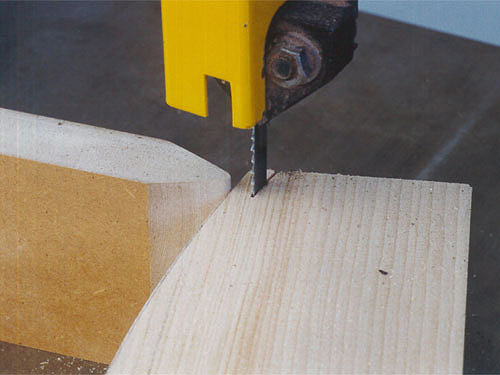
Fig 4
Practice Makes Perfect
You will need a little practice to keep the wood fed in such a way that it is always parallel to the blade and keep altering the angle of the approach as the wood is fed into the blade, Fig 5. If this is not done, the cut will wander off the mark slightly and the finished strip will not be a constant width.
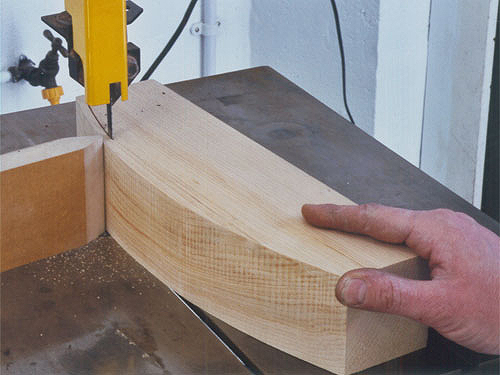
Fig 5
Keep the Blade Guides Low
Keep steady pressure against the fence point, letting the blade cut freely with the guides as low as possible to give maximum support, as Fig 6.
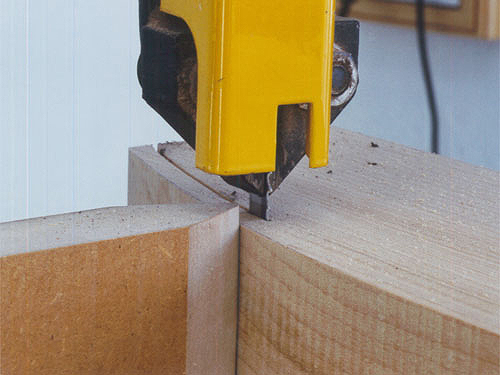
Fig 6
Cut Strips as Required
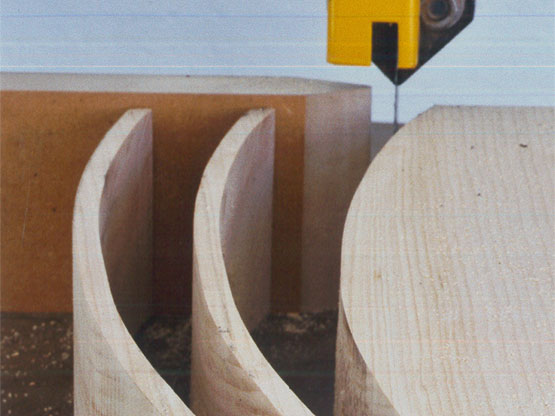
Keep cutting strips until you have as many as required. Ideally each one should be a perfect match, Fig 7. This technique is ideal for making curved chair splats.
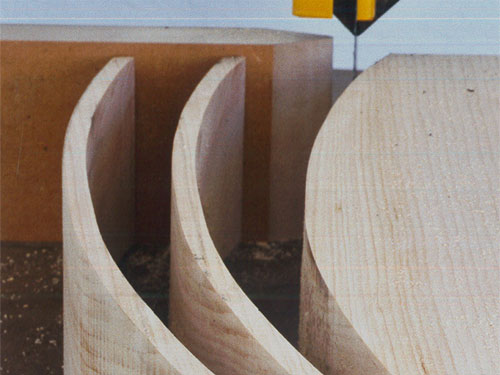
Fig 7
Extend Blade Life
This technique is also useful for ripping straight pieces with a wayward blade that can pull the timber away from the standard rip fence. Just substitute the single-point fence, Fig 8, feed the timber at an angle to compensate for the drift and you have extended the life of an otherwise useless blade!
