Lidded Bowl Project
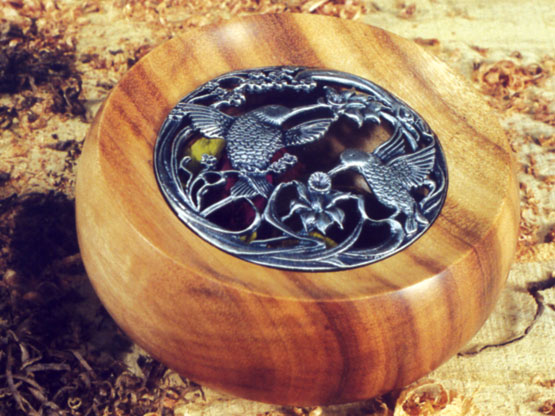
There is a wonderful scent all over the workshop today, it really is a pity you can't see it, and the reason for all this smelly business is one of the little bowls I am going to show you how to make in this article. A lovely smooth, rounded profile, hollowed out, filled with sweetly scented leaves and petals, and then covered with a really elegant pewter lid. It would make a wonderful gift for someone, a really unique pot pourri bowl, and its very easy to make.
While I am about it Iíll also show you another variation on the same theme, a bowl you can personalize using one of the special blank lids you can get from most woodturning suppliers. Just find yourself a favourite family photo, a cutting from a magazine or even a bit of embroidery, pop it into the frame, turn a bowl to fit, and there is another really unique and personal present. The basic technique is the same for both designs of bowl, so Iíll show you how to make the pot pourri one in detail, and then just show you the differences for the second one.


Preparation
For once this is a project where we don’t need a lot in the way of materials, just a small blank 5” diameter 2½” thick and the pewter lid itself, Fig 1.
It really is a good way of using up some of those smaller bowl blanks that seem to accumulate so readily on the timber rack. For the first bowl I have chosen a piece of Goncalo Alves because the natural dark streaky colour will contrast well with the silver of the lid, and also, more importantly, it is a timber with no long lasting natural scent of its own which could affect the contents of the bowl. Timbers like Cedar or Zebrano have very definite smells before you even start putting in the pot pourri, and as they linger for a long time after turning it is best to avoid this type of wood if possible.
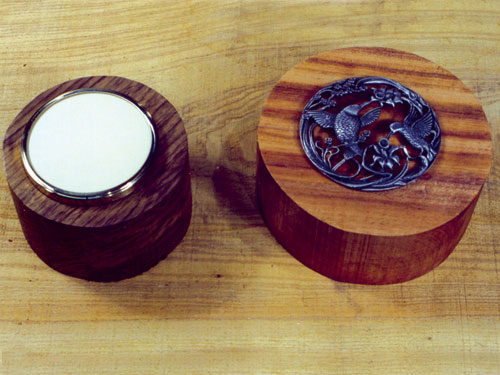
Fig 1
Using the Screw Chuck
I am going to hold the blank on the top side first, so that I can turn a mounting on the underside of the bowl for my scroll chuck. So drill a hole this side and mount the blank on a standard woodscrew chuck, fig. 2. For small blanks like these I find it easier and quicker to use an ordinary woodscrew chuck, rather than the big screw that fits in the scroll chuck. This will give plenty of grip for what we need to do, but screw the wood on nice and tight, using a Tommy bar to make sure it is up to the face of the chuck.
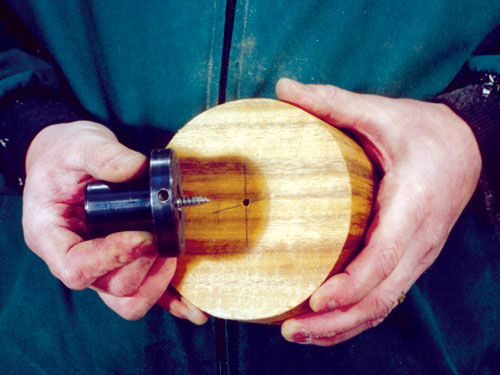
Fig 2
Trim the Outside
Set the speed of the lathe to about 900 rpm, and just trim up the periphery of the disc, Fig 3.
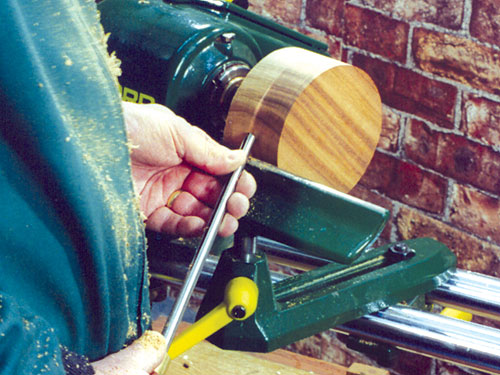
Fig 3
Mark the Base
Then mark out the base to take the chuck, Fig 4, in this case I am forming form a spigot base 2½” diameter, by just cutting in about 1/8” deep with the parting tool.
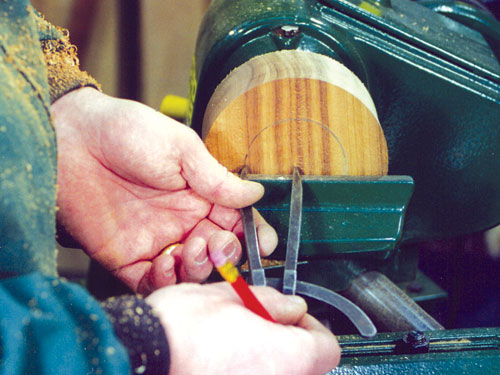
Fig 4
Refinement
Refine the foot with a shaped underside which I often decorate with a couple of incised lines, Fig. 5.
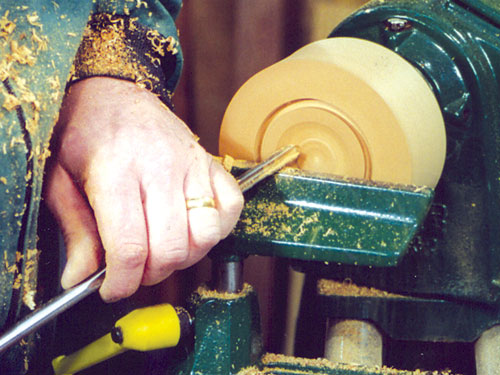
Fig 5
Turning The Outer Profile
When you are happy with this, start turning the outer profile of the bowl with a ½” bowl gouge well on its side to get a nice slicing action, fig. 6. Although you can do most of the shaping with this tool, it is impossible to get up really close to the actual foot, so for this bit I use a spindle gouge with the side ground well round.
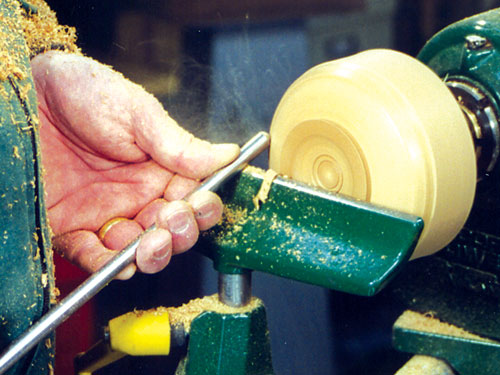
Fig 6
Using the Spindle Gouge
Use the spindle gouge with a dragging action, which gives you a very controlled cut, almost a shear scrape in fact, Fig 7. Try and get a nice rounded profile, which looks really well with highly figured pieces of wood like this. But do bear in mind that these smooth simple shapes are actually quite difficult to get just right, so take your time, and keep stopping and standing back to look at the profile as it develops. The curve must flow naturally without any sudden changes of direction, or it looks terrible. You’ll know when you get it right because you will just want to pick it up and rub your hands all over it! This is where the turner must use his artistic skill to bring out all the sensual qualities of a beautiful piece of wood. Remember the golden rule in this situation, keep it simple.
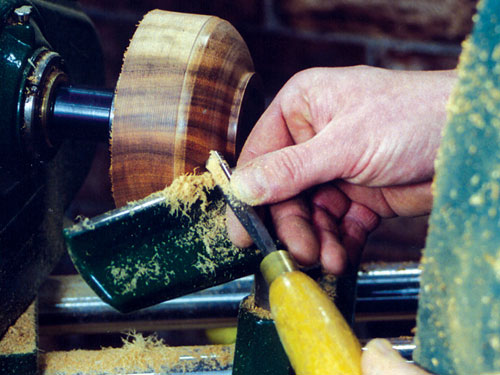
Fig 7
Finishing
All you have to do now is sand the surface ready to polish, and for this I start at something like 240 grit and work progressively down to 400 grit, but beware of oversanding which can both alter the profile and also denature the surface of the timber. I rub in a couple of coats of cellulose based sanding sealer, Fig 8, always with the lathe stationary, and flat down well in between coats using fine paper initially, and then finishing off with 0000 steel wool. Make sure that this last operation with the wool is very thorough to leave a really smooth burnished surface ready to polish.
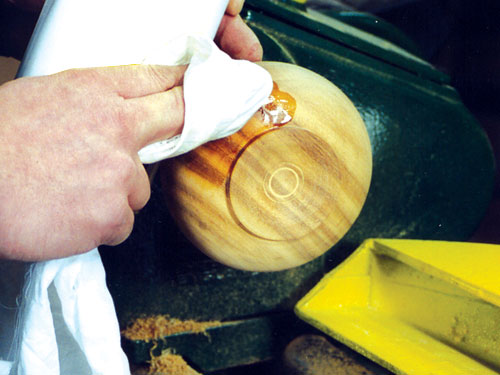
Fig 8
Apply your Chosen Finish
For a piece of turning like this which just begs to be handled and caressed I prefer to use a soft paste wax finish, Fig 9, rather than my normal high gloss finish which I feel tends to spoil the wonderful tactile quality of the wood that we have worked so hard to maximise. With the lathe spinning just apply a generous coat of the wax using wire wool, and then burnish it to a soft glow using a cotton duster.
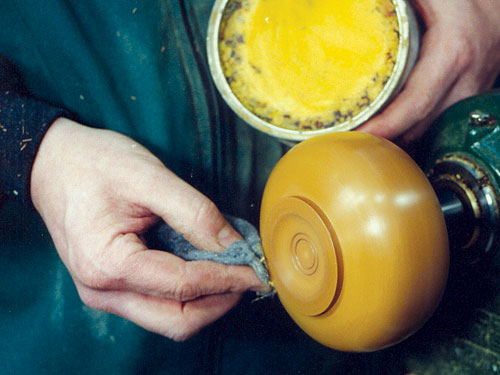
Fig 9
Mount the Bowl to the Chuck
Now reverse the bowl onto your chuck, Fig. 10, and at this stage I just swing the lathe head off a few degrees to allow the bowl gouge handle to clear the bed when I start hollowing.
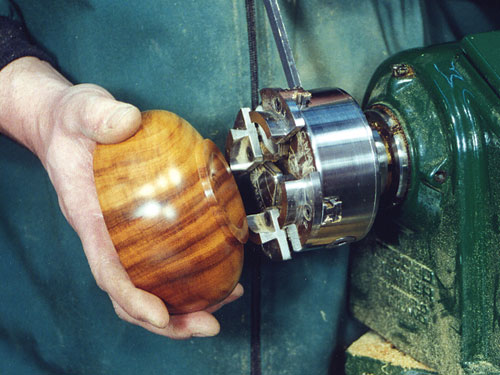
Fig 10
Mark the Diameter
With the lathe spinning mark out a 3” diameter using dividers to take the pewter lid, Fig 11.
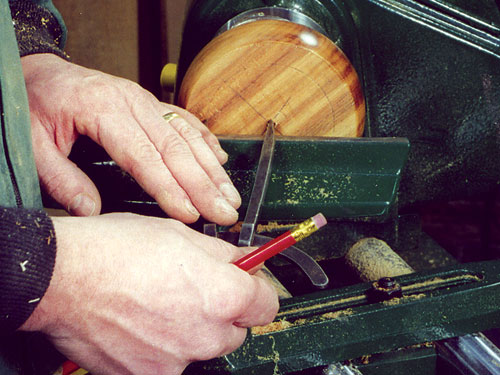
Fig 11
Check the Fit of the Lid
Just try this for size now because most of these lids are not truly round, and you will need to allow a little room for any possible shrinkage of the bowl later anyway, Fig 12. It is better to leave it a bit slack rather than try for a perfect fit.
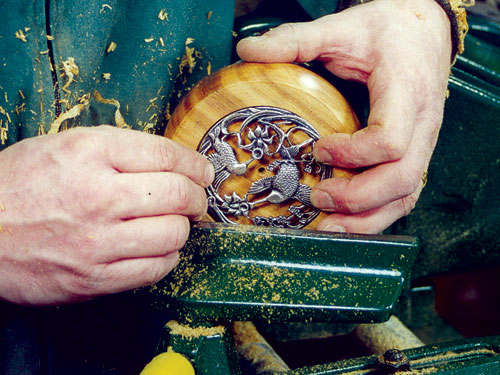
Fig 12
Hollowing Out
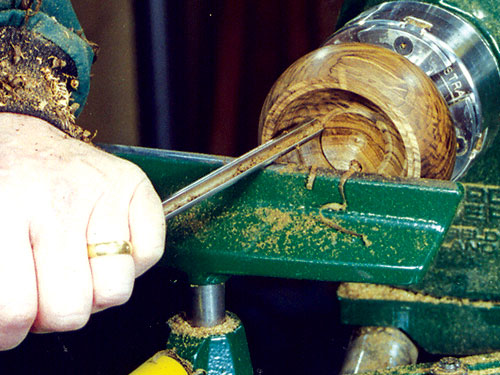
When you have found the correct diameter, deepen it with the parting tool to allow you to shape the top. Then all you have to do is hollow out the inside of the bowl, but do remember to leave a small lip for the lid to sit on, Fig 13.
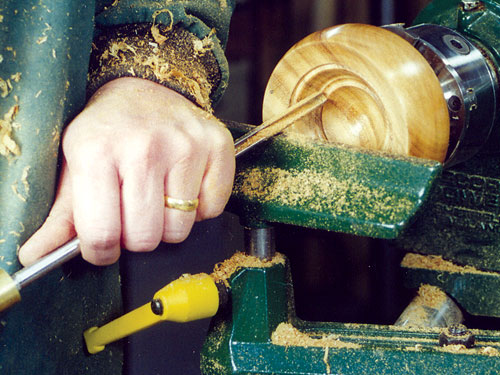
Fig 13
Use a Depth Gauge
For the majority of the hollowing I use a ½” bowl gouge, it is surprising just how much you can do with this tool, but it is very easy to get carried away and take out too much! My scrap bin is full of very large bowl shaped napkin rings, so beware! The best aid to help you get the correct depth, is a depth gauge of some sort. I use a homemade one, which as you can see is very simple, but it works well for bowls of any size, Fig 14. Hollow out as much as possible to minimise the amount of wood left and to allow for a good depth of pot pourri.
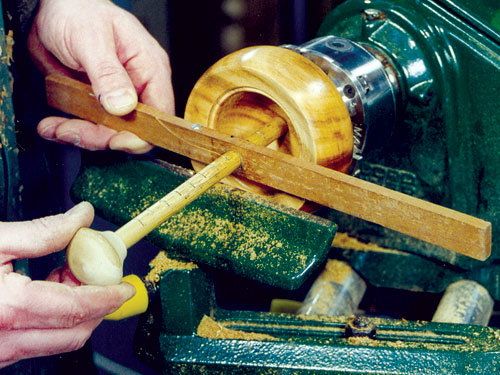
Fig 14
Using a Scraper
With a rounded back inner profile like this you will probably get to the stage where the bowl gouge just won’t go round the corner, so you may have to resort to a scraper of some sort. Everyone has their own ideas for this, but I prefer to use a slightly hooked round shaped version, fig. 15, but do only use it gently or you will tear the surface really badly. You can buy all sorts of fancy gadgets for this job, but once again I have found that a simple flat round ended scraper does everything I need, and costs a lot less than most of the alternatives.
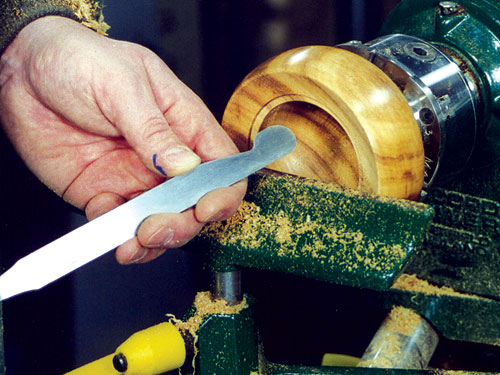
Fig 15
Sanding
However whenever you use a scraper of any sort, there is always some tearing of the surface and you will need to start the sanding process with a slightly coarser abrasive than normal. I start on the inside with 180 grit, and then again work down to 400. There is a good tip here though. Prolonged sanding often leads to the surface of the timber becoming glazed, and no matter what you do the abrasive just don’t seem to have any effect. If this happens the recommended cure was usually to soak the surface with water to raise the fibres again. Although this works you may have to wait hours for it to dry, and if it isn’t properly dry the subsequent finish may be spoiled by “blooming”. A better method is to flood the inside surface of the bowl with a coat of cellulose sealer thinned down 50/50 with thinners. This penetrates into the surface, raises the fibres, but dries in seconds, and you then have a free cutting surface to continue sanding. It really does work, try it sometime when you are struggling to sand something.
The rest of the finishing process is as we did on the outside, but again take your time to get it right, then find some nice smelly bits, pop them in and that’s the first bowl finished. Looks good and smells good as well!
The Second Bowl
The second bowl although a bit smaller, is very similar, the bottom half anyway. Use a blank 4” diameter by 2” thick, and turn the base ready for remounting in exactly the same way as we have just done, shape the outer profile, and then sand and polish, before reversing onto the scroll chuck. The main difference for this bowl is that we need to form an accurate lip for the lid to fit over, so do this bit first as the rest of the shape is then totally dependant on this parameter, Fig 16. The inside diameter of the lid is just under 3”, so mark this out with your dividers and make a very shallow trial cut with the parting tool. If all is well you can then just deepen it, if not there is very little to turn away and start again. Again make the lid an easy fit rather than a tight one to allow for any movement.
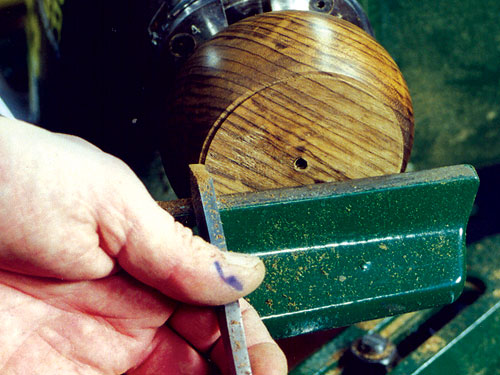
Fig 16
Finishing the Second Bowl
With the lip now the correct size finish forming the outer profile, blending it into the one you have worked up from the base. Then hollow out the inside as before but again be careful not to damage the delicate lip you have left, Fig 17. Sanding and polishing completes the job.
